


What is CI/CD?
CI or Continuous Integration is the practice of automating the integration of code changes from multiple developers into a single codebase. It is a software development practice where the developers commit their work frequently into the central code repository (Github or Stash). Then there are automated tools that build the newly committed code and do a code review, etc as required upon integration. The key goals of Continuous Integration are to find and address bugs quicker, make the process of integrating code across a team of developers easier, improve software quality and reduce the time it takes to release new feature updates.
CD or Continuous Delivery is carried out after Continuous Integration to make sure that we can release new changes to our customers quickly in an error-free way. This includes running integration and regression tests in the staging area (similar to the production environment) so that the final release is not broken in production. It ensures to automate the release process so that we have a release-ready product at all times and we can deploy our application at any point in time.
What is a Build Job?
A Jenkins build job contains the configuration for automating a specific task or step in the application building process. These tasks include gathering dependencies, compiling, archiving, or transforming code, and testing and deploying code in different environments.
Jenkins supports several types of build jobs, such as freestyle projects, pipelines, multi-configuration projects, folders, multibranch pipelines, and organization folders.
What is Freestyle Projects ?? 🤔
- A freestyle project in Jenkins is a type of project that allows you to build, test, and deploy software using a variety of different options and configurations.
Here are a few tasks that we could complete when working with a freestyle project in Jenkins:
Task 01
Create an agent for your app.
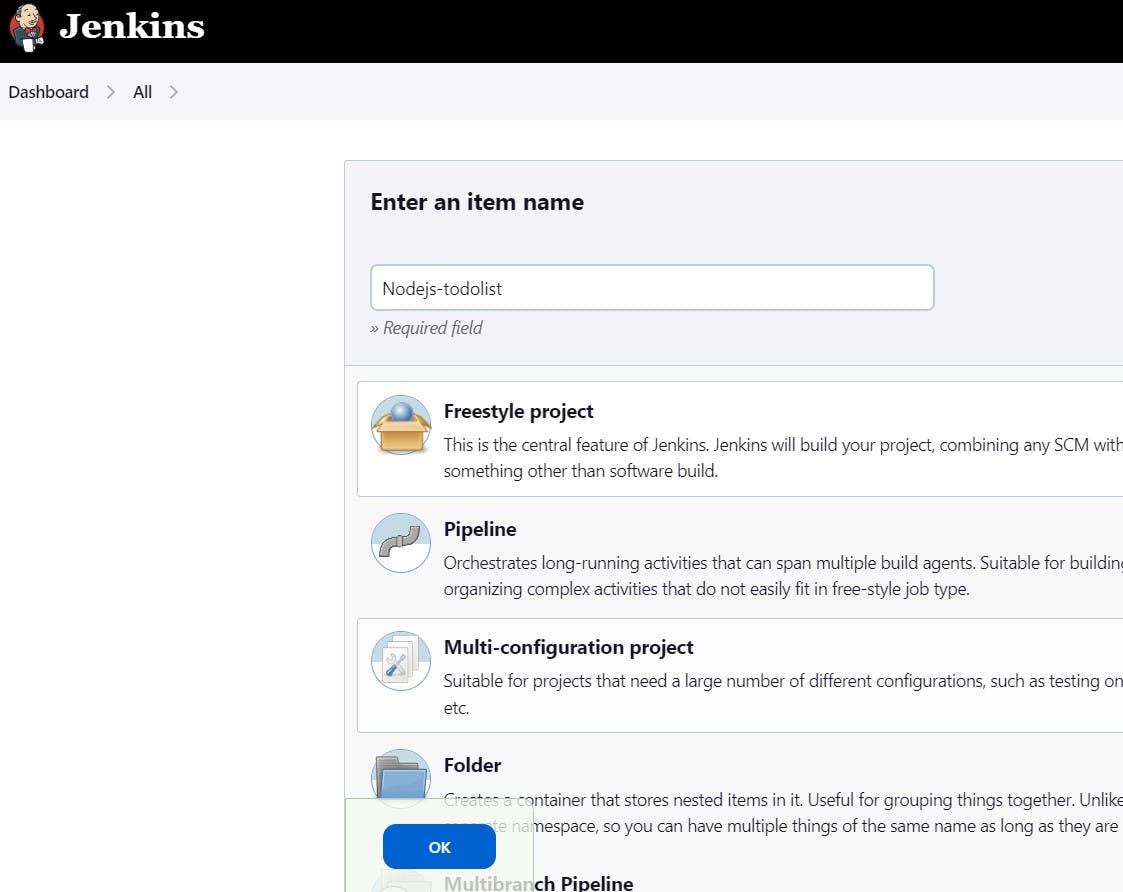
Create a new Jenkins freestyle project for your app.
In the "Build" section of the project, add a build step to run the "docker build" command to build the image for the container.
Add a second step to run the "docker run" command to start a container using the image created in step 3.
Login to Jenkins, then create a "new item" freestyle project as shown below:
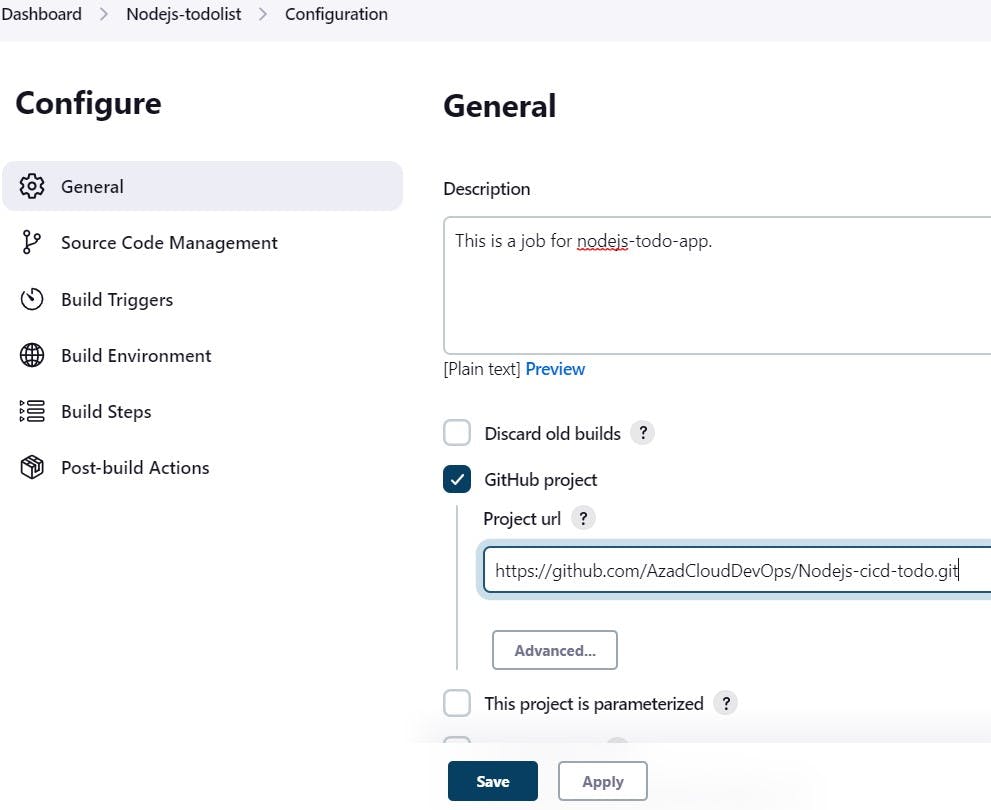
In General, we can specify descriptions of our job or Project. We can specify a GitHub project with "Project URL" which we copied from GitHub repo URL.
We could also specify Source code management with Git info by giving the repository URL, and specifying the branch name
mainas below.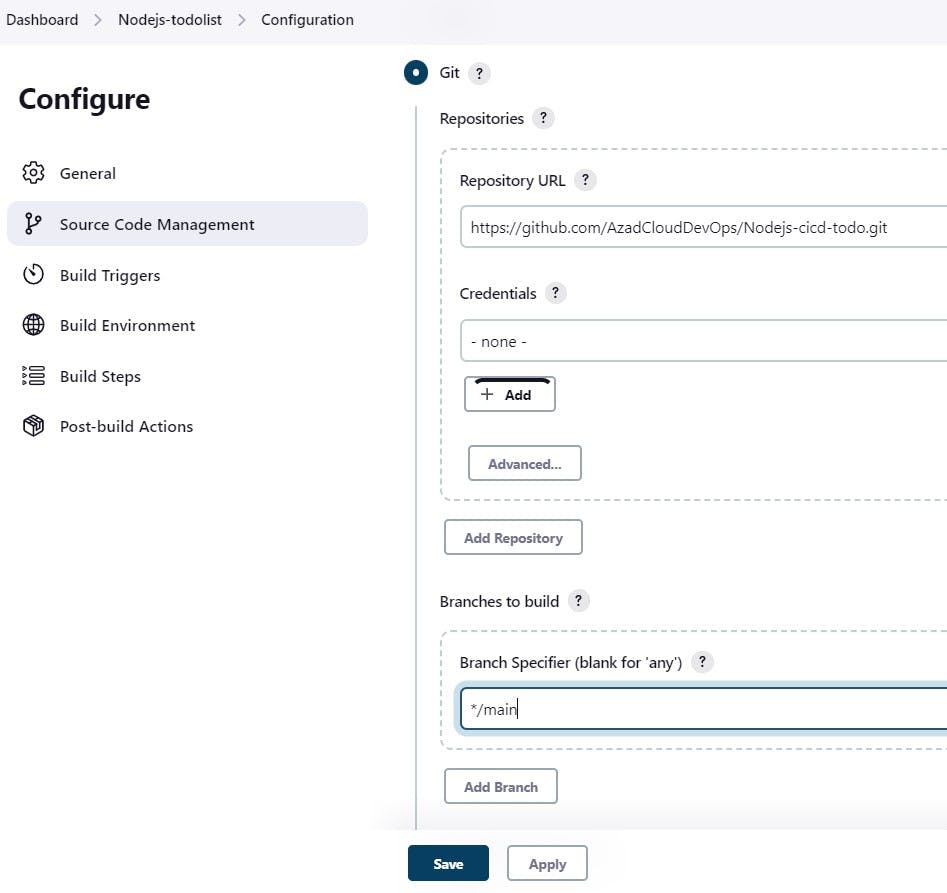
In Build Steps, we
add build stepsto run thedocker buildcommand to create an image for the container. Then add a second step as thedocker runcommand to run the container from the image created in the previous step.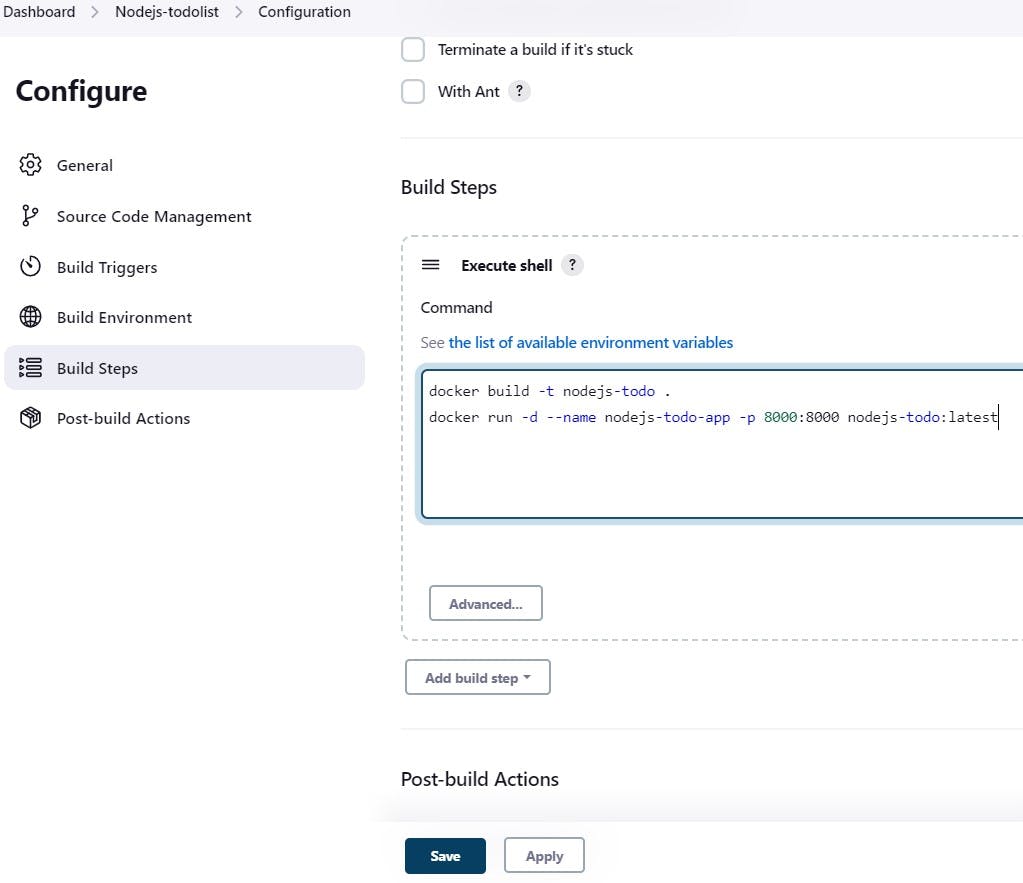
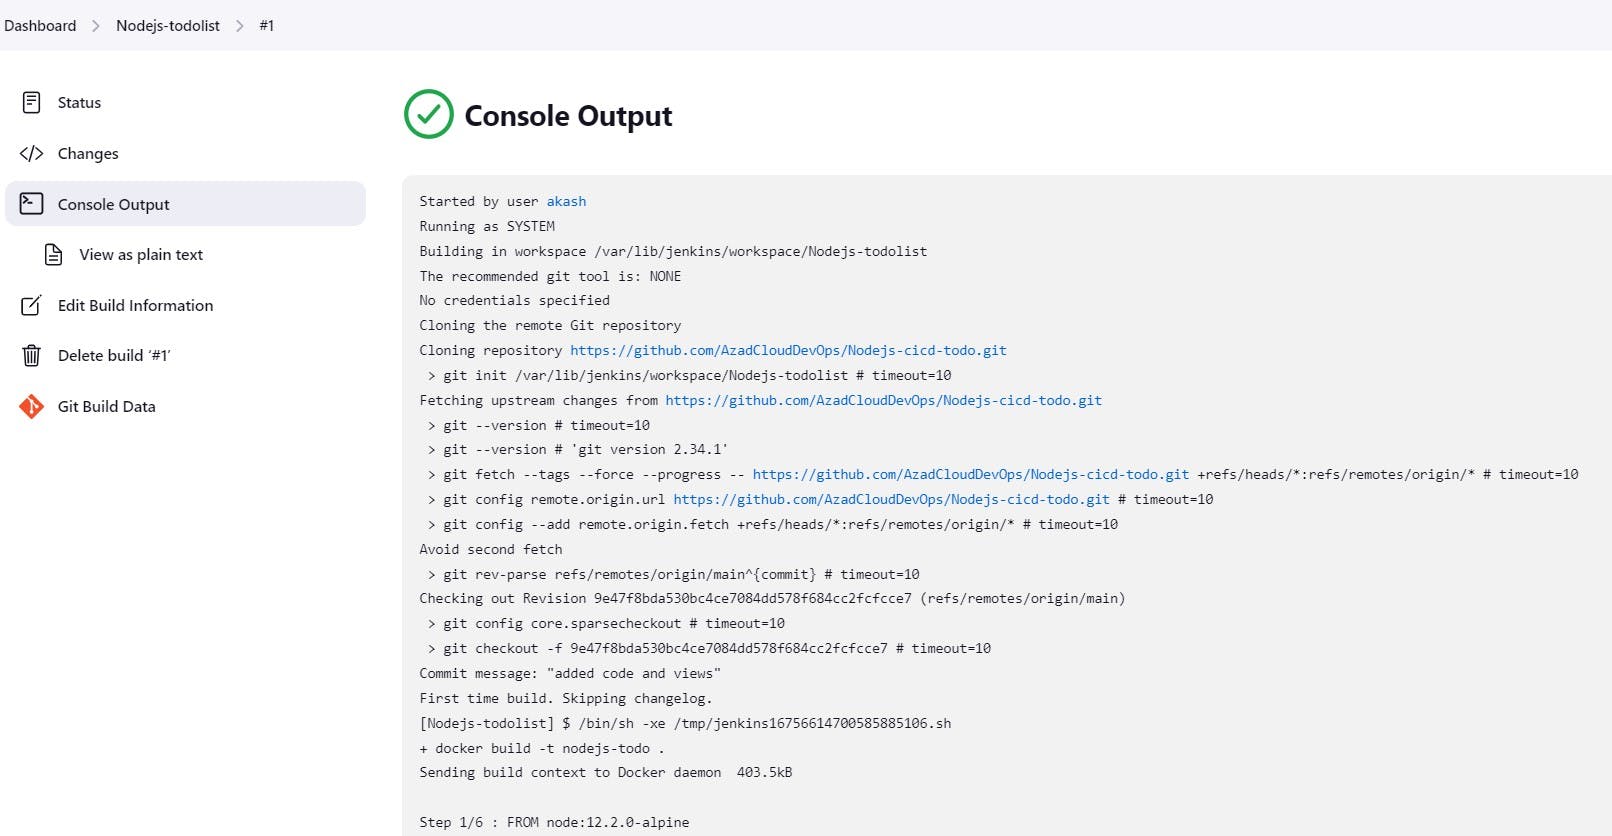
Click on
applyandsavethenbuild nowsuch that we could manually start the process and execute the steps configured in this.Finally, we can view the console output below.
We can see the projects deployed from GitHub at the location
/var/lib/jenkins/workspaceas well.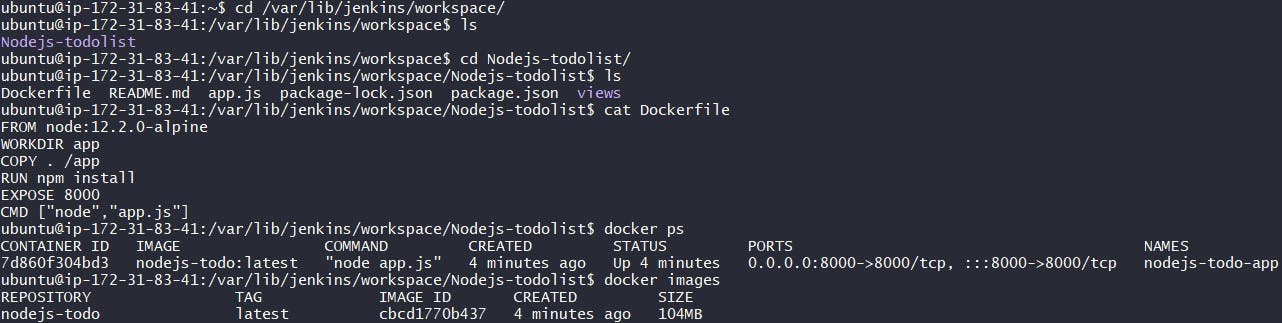
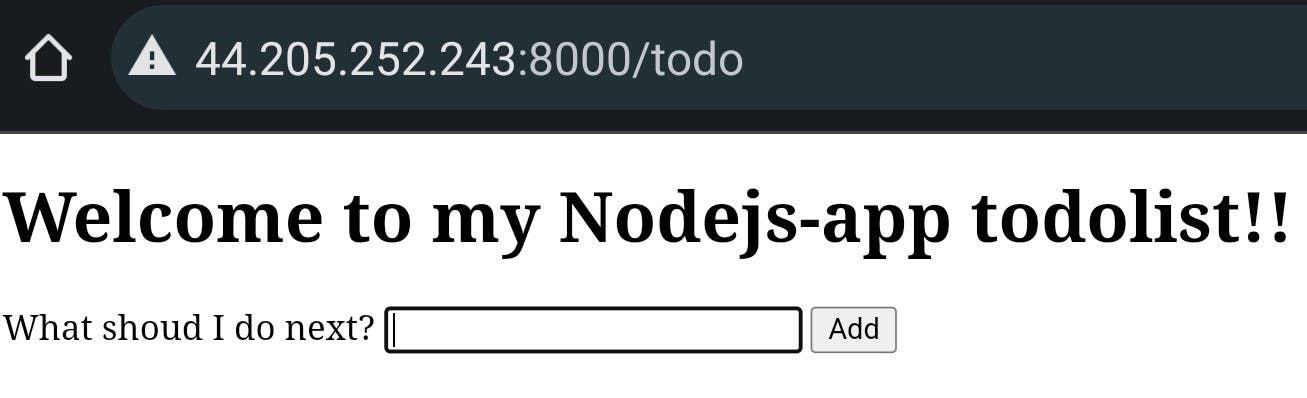
Our application is also running as seen below.
Task 02
Create a Jenkins project to run the "docker-compose up -d" command to start the multiple containers defined in the compose file.
Set up a cleanup step in the Jenkins project to run the "docker-compose down" command to stop and remove the containers defined in the compose file.
In continuing to the first task, we create
docker-compose.ymlthe file inside our project.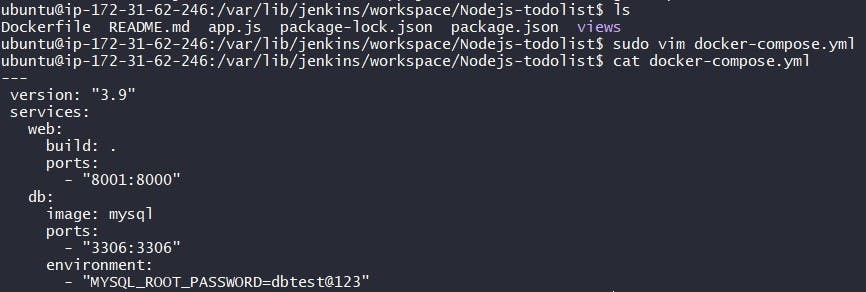
In
Build stepsection,add build stepslike this. Heredocker compose downis taken first to remove and stop the containers defined in the compose file then afterwards we usedocker compose up -dcommand.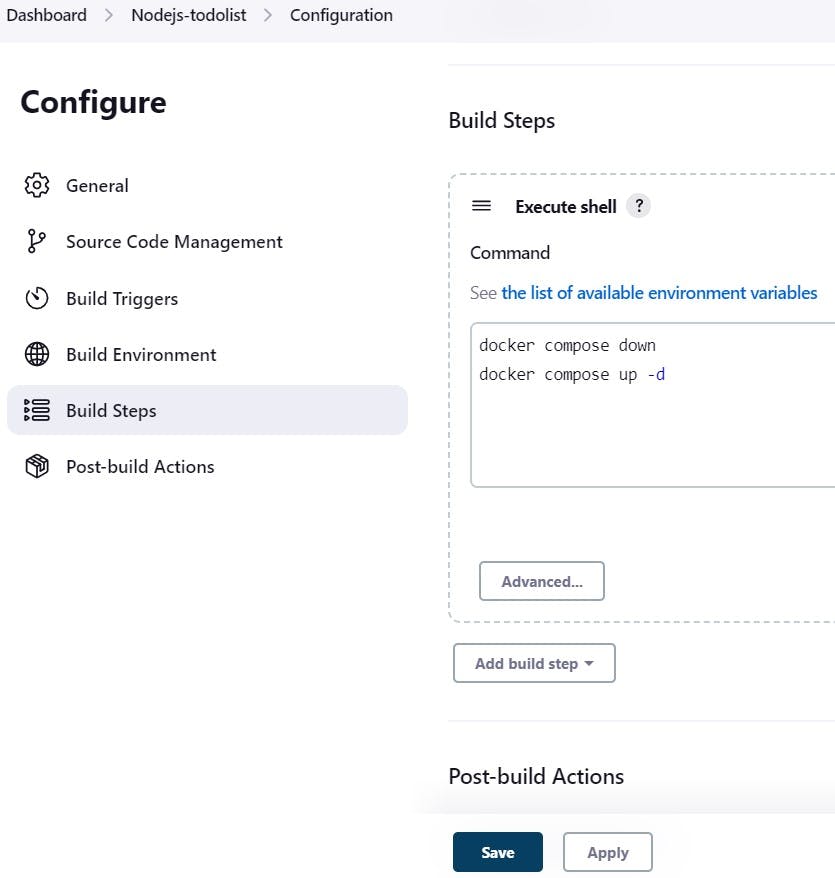
Thus we
saveandbuild nowthe project. We can view theconsole outputbelow.
Our compose container is also working as below.

We can also see container created by
docker ps.
Reference: video
Thanks for learning with me and reading my blog!
Also for your valuable time.
Keep reading and Keep hustling.